Letter writing corner
Everything for writing a letter, ready to print
Print a sheet, write, fold, post. Make writing paper that turns into its own envelope, envelopes in any size, stationery for long letters and postcard backs for Postcrossing swaps.
Makers
-
Fold-up letter (letter + envelope in one)
Write on the inside, fold the sheet in three and the address side ends up on the outside, like an air mail letter form. No envelope needed.
Open maker -
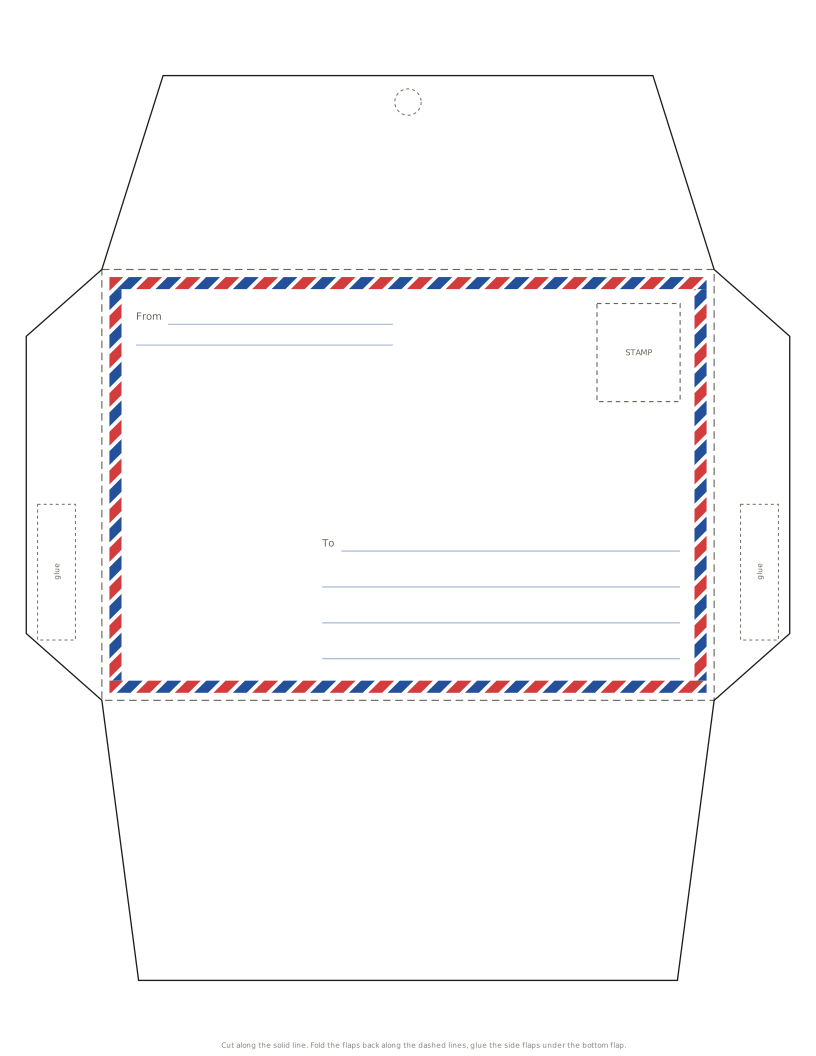
Envelope template maker
Pick a size and a pattern, add addresses if you want them printed, then cut out, fold and glue. The printed side becomes the outside of the envelope.
Open maker -
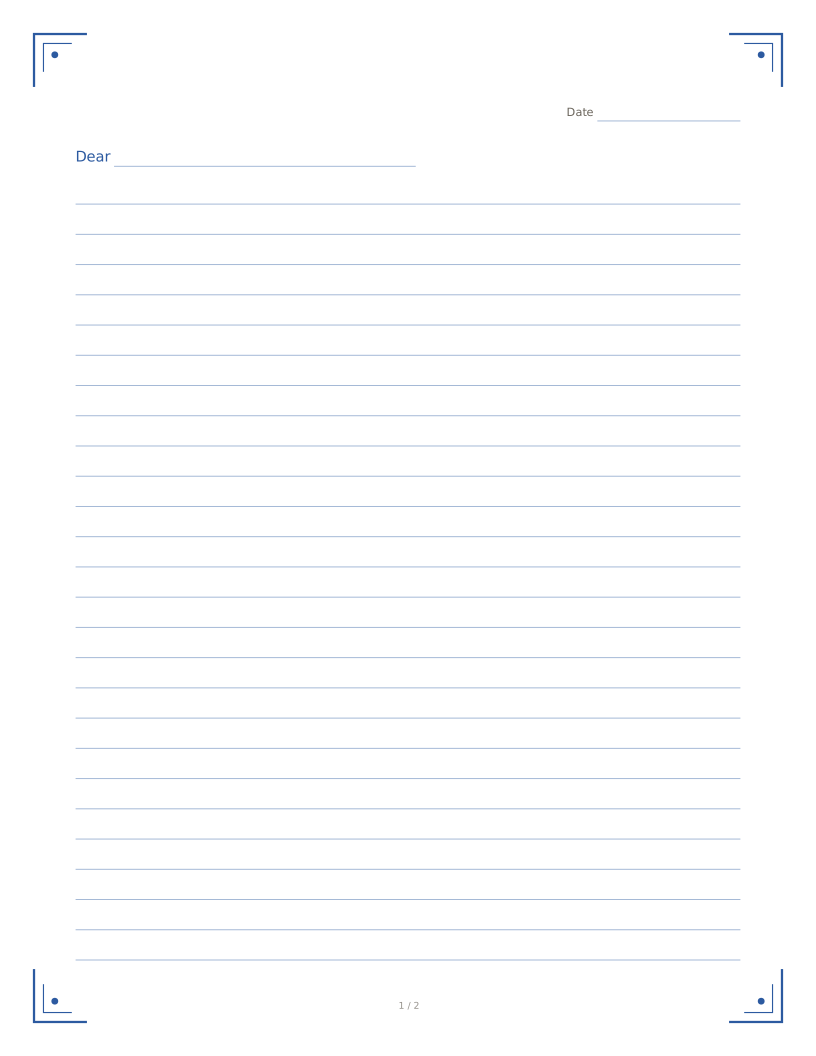
Letter writing paper
Stationery for pen pals, thank-you letters and long letters home. Choose the lines and a border, set how many pages, download.
Open maker -
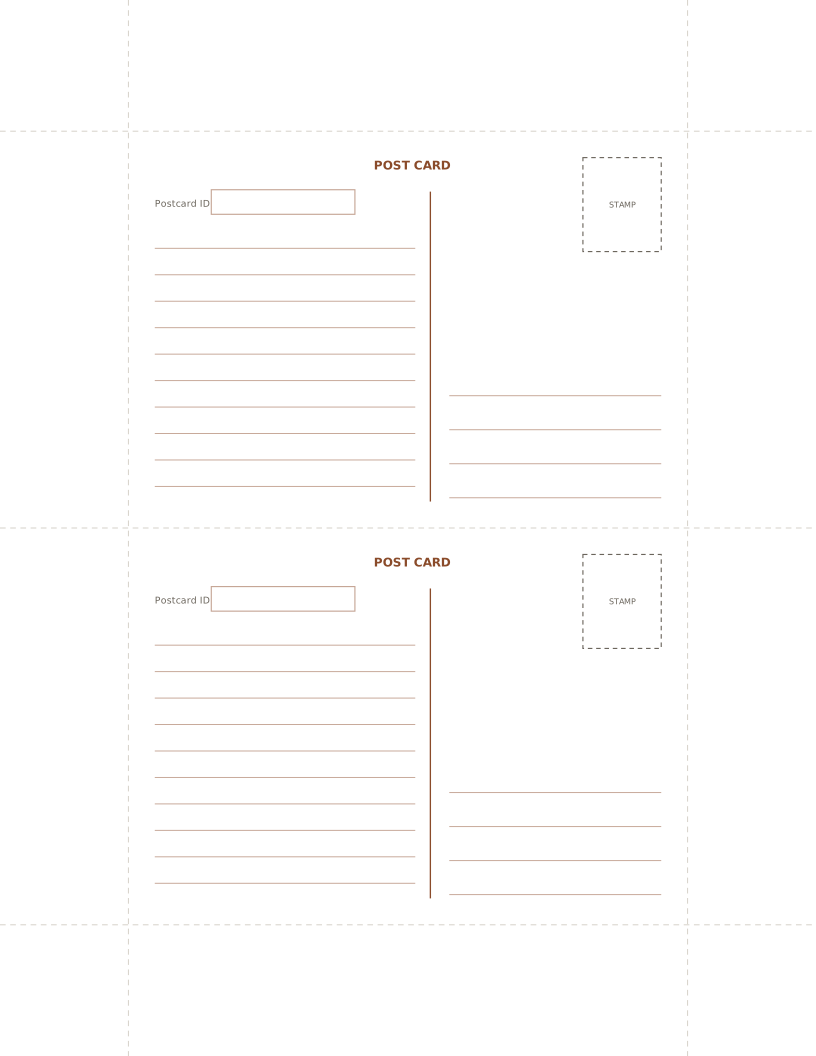
Postcard back template
Print the writing side of postcards on card stock, then draw, stamp or glue a picture on the front. Handy for handmade cards and Postcrossing.
Open maker
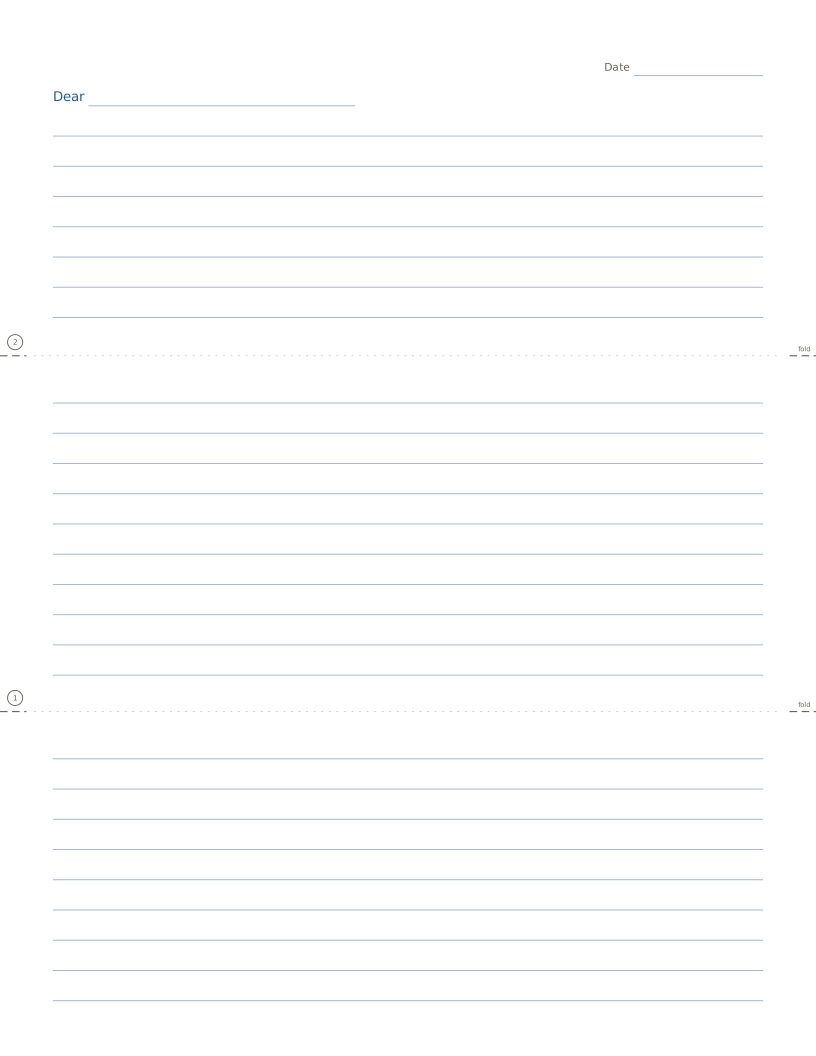
How the fold-up letter works
One sheet is both the letter and the envelope, like the old air mail letter forms (aerogrammes).
-
1Print page 1, then print page 2 on the back of the same sheet. Write your letter on the lined side.
-
2Fold the bottom third up along fold 1, then the top third down along fold 2.
-
3Seal the open edges with a sticker or tape. The address and stamp box are now on the outside.
Before you post it
- Seal every open edge of a fold-up letter; some post offices return letters that are not closed.
- A sheet of A4 or Letter paper folded in thirds is a standard letter size almost everywhere. Weigh it if you add photos or stickers.
- Use 80–100 g/m² paper for fold-up letters and 120–160 g/m² for envelopes and postcards.
- Write the country in capitals on the last line of an international address.
- For Postcrossing, write the postcard ID clearly; the ID box on the postcard backs is there for it.
Notebook pages for letter writers
Keep track of the letters, postcards and stamps you send and receive.
Questions
Can I really post a letter without an envelope?
In most countries yes, as long as it is sealed on all open sides and has an address and stamp. Rules differ, so ask your post office if you are unsure, especially for international mail.
My printer only prints on one side. What do I do?
Print page 1, put the sheet back in the tray blank side up with the same edge going in first, then print page 2. Or switch off the outside page and write the address by hand.
Are the makers free?
Yes. No account, no watermark and no limit. Everything is made in your browser and nothing is uploaded.