Postcard back template
Print the writing side of postcards on card stock, then draw, stamp or glue a picture on the front. Handy for handmade cards and Postcrossing.
How to use it
- 1Choose the size, lines and whether you want the ID box.
- 2Print at 100% on 200–300 g/m² card stock and cut along the dotted lines.
- 3Decorate the blank side, write your message and address, and add a stamp.
Questions
How many postcards fit on a sheet?
Four A6 or 3½ × 5 in cards fit on one sheet; 4 × 6 in cards fit two to a sheet.
What is the ID box for?
Postcrossing gives every card an ID such as DE-1234567 that the receiver registers. Write it in the box so it is easy to find.
Can I put my own picture on the front?
Yes. Print the backs on card stock and draw or glue a photo on the blank side, or print your picture first and then feed the sheet in again for the backs.
Other tools
-
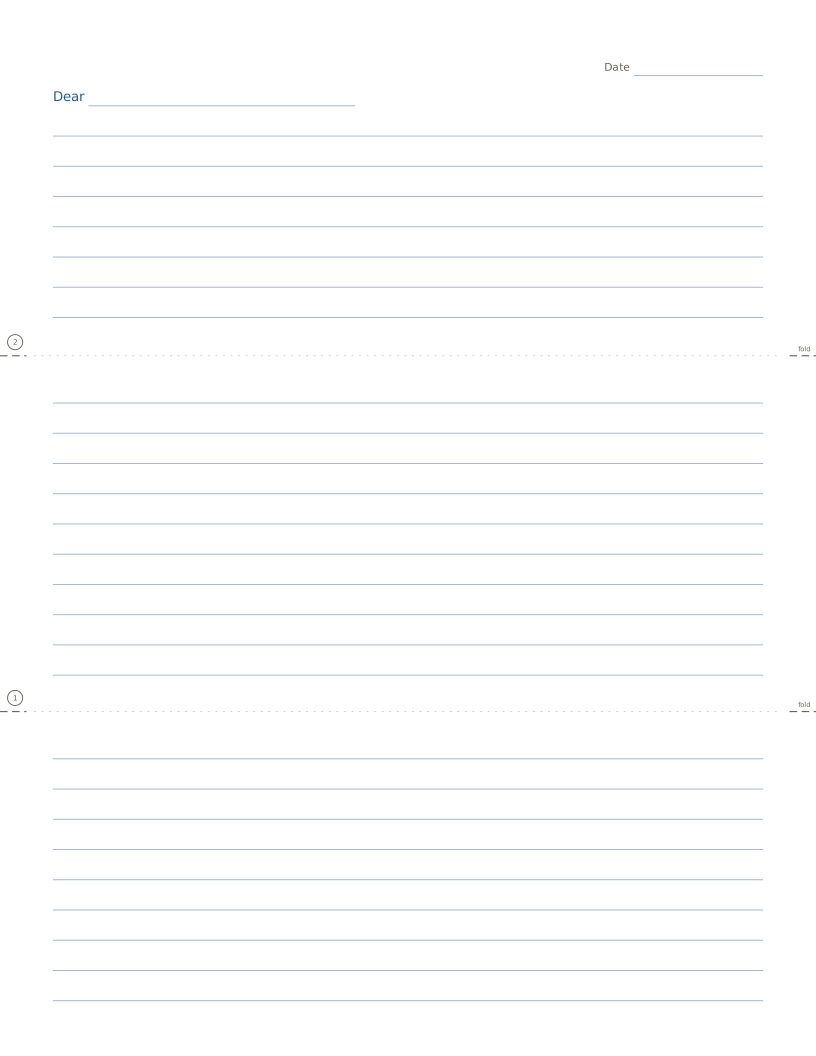
Fold-up letter (letter + envelope in one)
Writing paper that folds into its own envelope, aerogramme style.
-
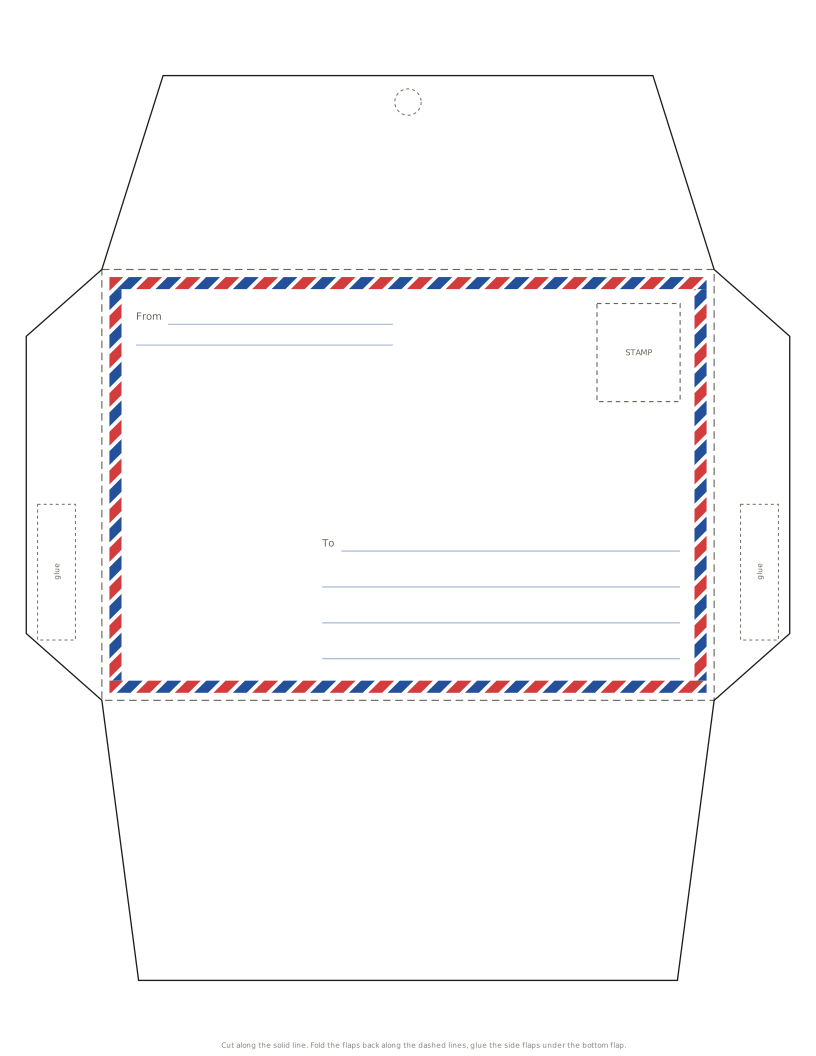
Envelope template maker
Cut-and-fold envelopes in C6, A2, square or money-envelope size.
-
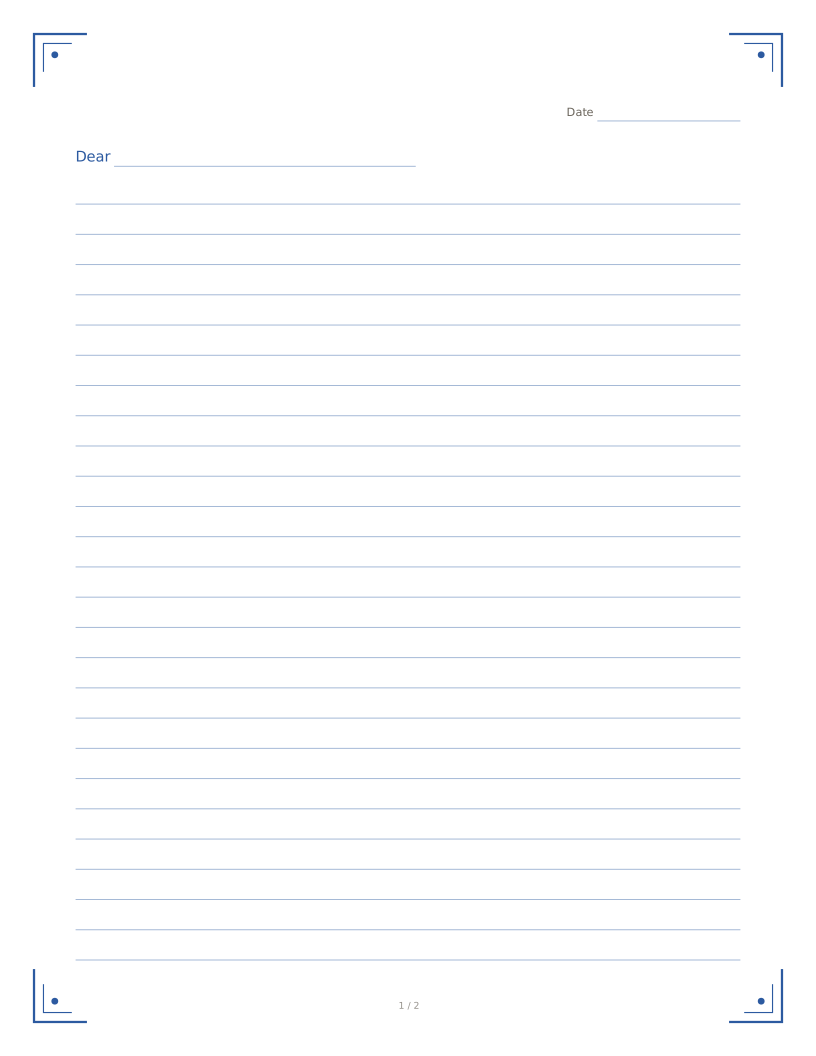
Letter writing paper
Stationery with lines, dots, a border, or vertical columns.
-
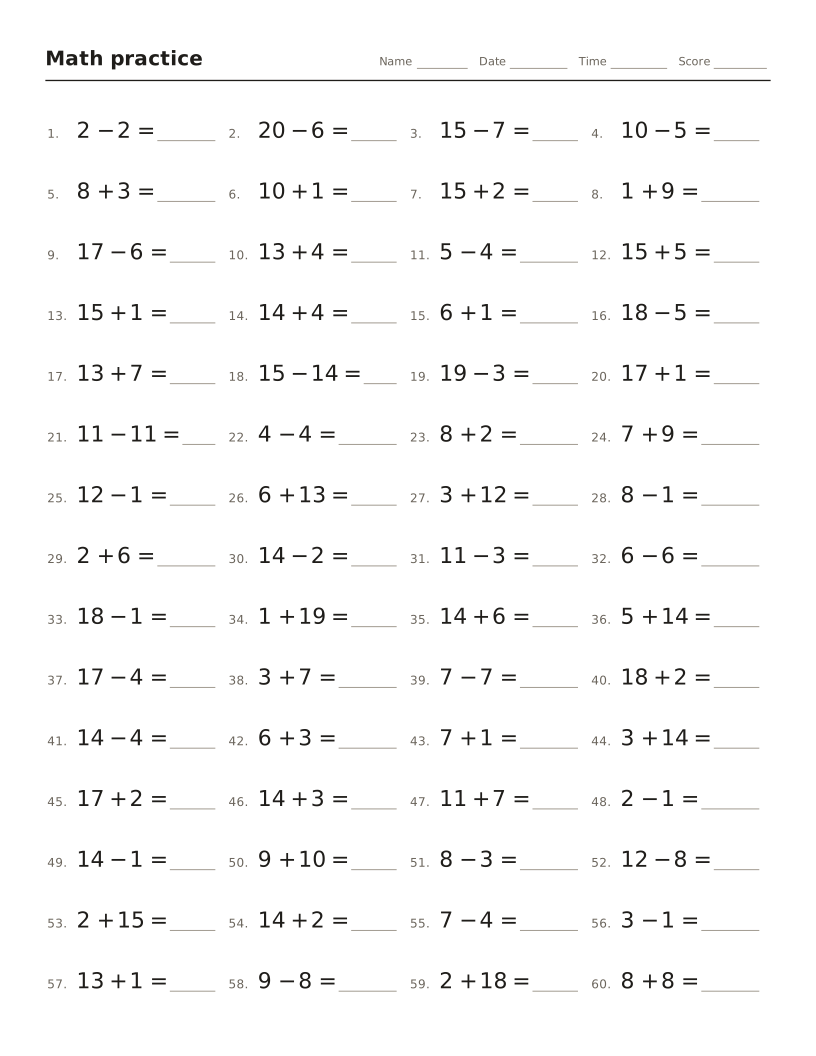
Math worksheet maker
Addition, subtraction, times tables and division drills with an answer key.
-
Chinese character tracing sheets
Tian, mi, hui or nine-square grids with characters to trace and optional pinyin.
-
Pinyin worksheet maker
Four-line pinyin sheets for initials, finals and tones, or any text turned into pinyin.