5 min read
Happy Planner printables: Classic, Big and Mini inserts
Print your own Happy Planner inserts: Classic, Big and Mini sizes, the 1 inch disc spacing, paper, printing Classic pages on Letter, and punching the slots.
On this page
Happy Planner inserts are loose pages with mushroom-shaped slots along the binding edge that snap onto discs. The three sizes share one rule: slots 1 inch apart, centred on the page. Print the page at the right size, mark the slots, punch them with a disc punch, and the page goes in anywhere in the planner. The same pitch is used by Arc (Staples) and Circa (Levenger) planners, so the pages and punches are interchangeable.
Sizes and discs
| Planner | Page size | Discs | Prints on |
|---|---|---|---|
| Mini | 4.625 × 7 in (117.5 × 177.8 mm) | 7 | Letter or A4, two per sheet |
| Classic | 7 × 9.25 in (177.8 × 235 mm) | 9 | Tabloid or A3 two per sheet; Letter one per sheet, trimmed |
| Big | 8.5 × 11 in (Letter) | 11 | Letter, one per sheet, no trimming |
The first and last slots sit 0.5 in from the top and bottom on Big and Mini, 0.625 in on Classic. The Skinny Classic (3.5 × 9.25 in) uses the Classic slots; the Skinny Mini (3.5 × 7 in) the Mini ones. For either, choose the matching system in the maker and set the page width to 3.5 in.
Setting up in the maker
Choose Happy Planner Classic, Big or Mini under Planner or binder. The page size, a binding margin that clears the discs, double-sided loose-page printing and the slot guide are set together. Then add pages:
- Vertical weekly layout: the weekly calendar with seven columns, dated from any week, Sunday or Monday start.
- Monthly calendars with a side notes area, from the monthly calendar.
- Dashboards and trackers: habit tracker, meal planner, budget pages, dot grid for stickers and notes.
- Teacher layouts on Big: the weekly schedule layout with hours from 7 to 17 for a school year.
Printing Classic pages
A Classic page is 7 in wide and 9.25 in tall, which fits on Letter paper in height but leaves only 0.75 in each side for crop marks. The maker handles this two ways:
- Tabloid or A3, two pages per sheet at exact size with crop marks. Best if your printer takes it or you print at a copy shop.
- Letter, one page per sheet. The page prints at 100% centred, with marks at the top and bottom; trim the width to 7 in by lining a ruler up with the printed margin frame.
Big pages are exactly Letter: print and punch, no trimming. Mini pages go two to a Letter or A4 sheet.
Print settings
- Download PDF → Single pages with crop marks and punch guides on.
- Print double-sided, flip on the long edge, at 100% (Actual size). Fit-to-page would shrink the slot spacing.
- Trim along the crop marks where there are any.
Punching the slots
A disc punch (Happy Planner, Arc or Circa, all 1 inch pitch) cuts several slots at once. Line the punch’s first slot up with the first printed circle, punch, slide along to the next unpunched circle and repeat; the printed stems show which way the slot opens. A single-slot punch works the same way, one circle at a time. The circles disappear inside the slots.
Standard 80 g/m² copy paper flips fine on discs; 100–120 g/m² lasts longer for pages you move between months. Laminate dashboards before punching if you want to use dry-erase markers on them.
Featured templates
Start from a template, then change line spacing, dates, colors and layout options.
-
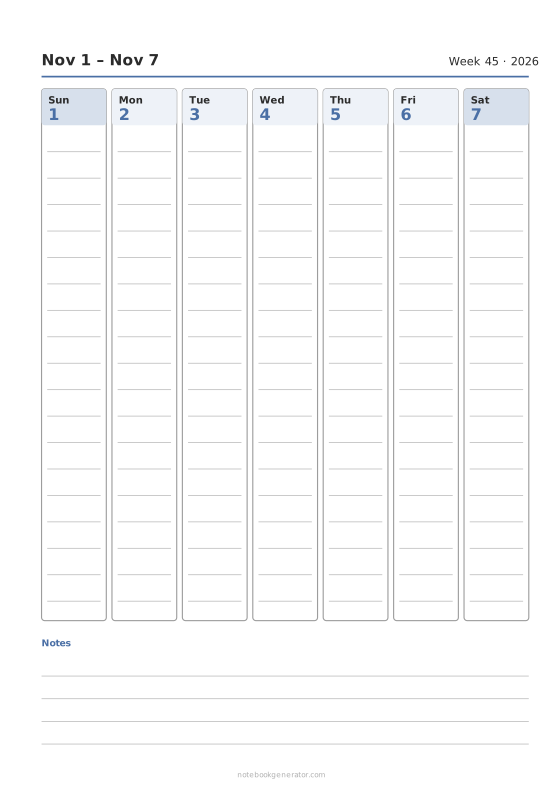
Weekly Calendar
A dated week on one page: day columns, day rows or an hourly schedule.
-
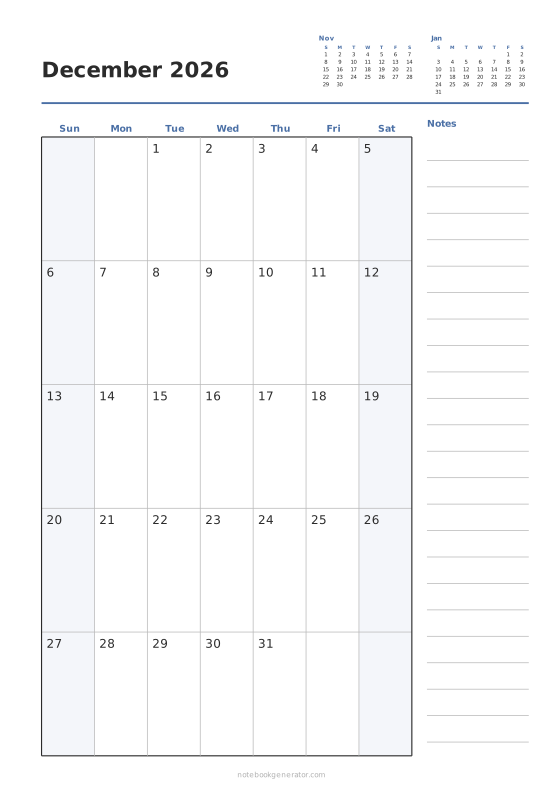
Monthly Calendar
One month per page with big day boxes, week numbers and a notes column.
-
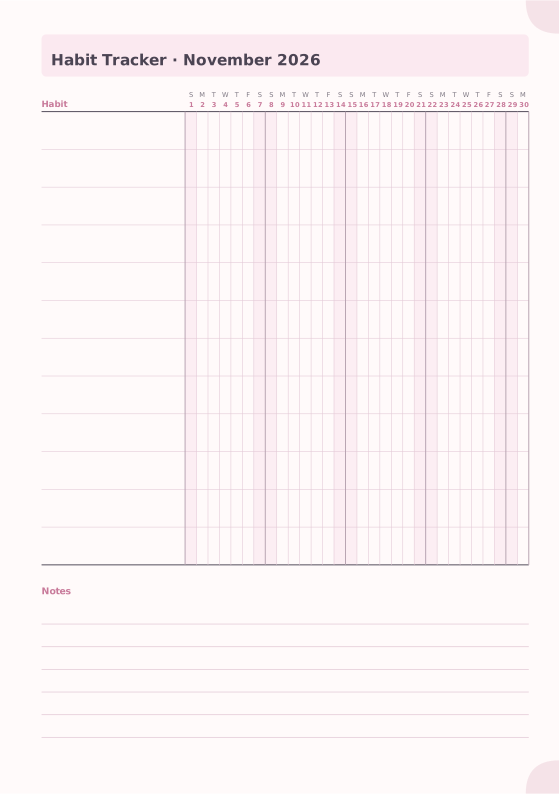
Habit Tracker
Monthly grid to track up to 20 habits.
-
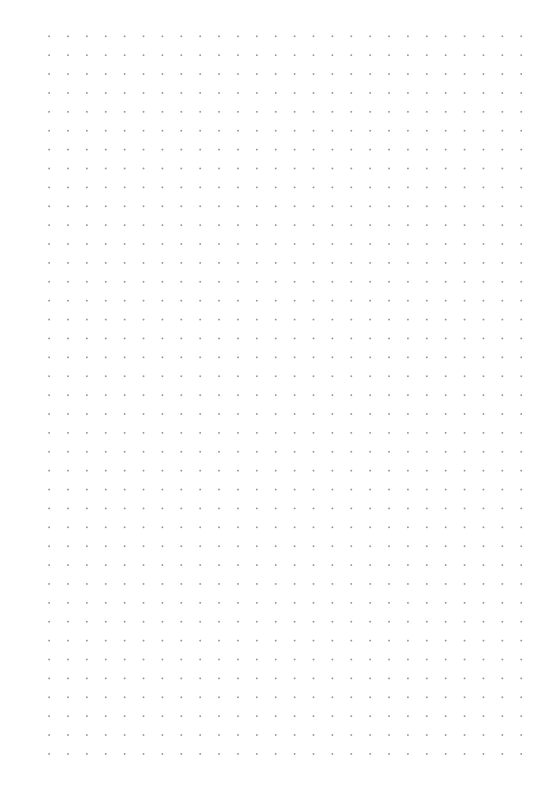
Dot Grid
Evenly spaced dots for bullet journals and sketches.
-
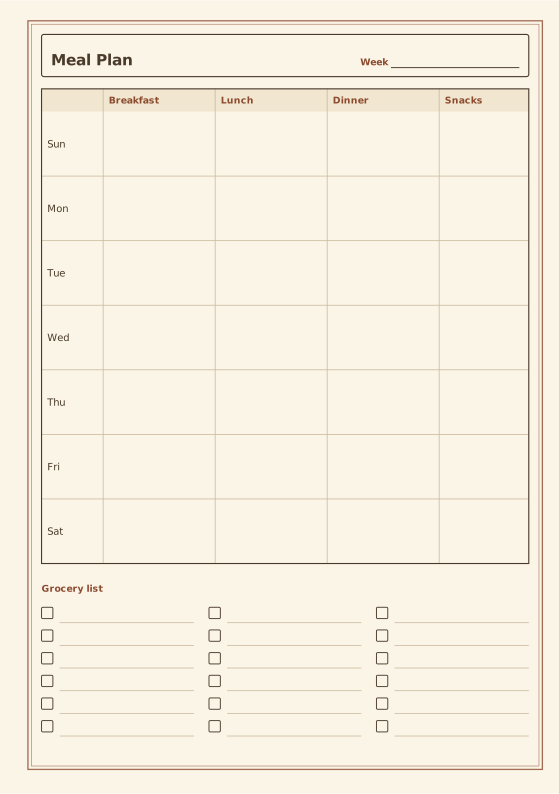
Meal Planner
Weekly meals with an optional grocery list.