6 min read
Traveler's Notebook refills: print your own inserts
Make Traveler's Notebook refills at home: regular and passport insert sizes, paper, printing the booklet, folding, trimming, pamphlet stitch and a kraft cover.
On this page
A Traveler’s Notebook refill is a thin booklet that slides under the elastic of a leather cover. Regular inserts are 110 × 210 mm, passport inserts 89 × 124 mm, and both print as folded booklets on ordinary A4 or Letter paper: print double-sided, fold, trim the edges, sew or staple the spine and slide it in. This guide covers the sizes, paper, the print settings and the stitch.
Sizes
| Insert | Page size | Prints on | Per sheet |
|---|---|---|---|
| Regular (standard) | 110 × 210 mm (4.33 × 8.27 in) | A4 or Letter, landscape | One folded insert |
| Passport | 89 × 124 mm (3.5 × 4.9 in) | A4 or Letter, landscape | Two identical inserts side by side |
On A4 the regular page height equals the paper height, so you only trim the sides. On Letter you trim about 3 mm at the top and bottom as well. Compatible covers from other makers (B6 slim, “standard” or “wide” covers) differ by a few millimeters, so measure the inside of your cover and adjust the page size if needed. The Traveler’s Notebook and passport pages have presets for both.
Paper
Standard 80 g/m² copy paper makes a 32-page insert about 2 mm thick, which is right for a cover that holds three or four inserts. Fountain pen users prefer 90–100 g/m² smooth paper, which shows less through the page but makes each insert thicker. Keep an insert to 32 pages (8 sheets) if you fold and sew by hand; 48 pages (12 sheets) is the limit for a long-reach stapler.
Pages that work well in an insert
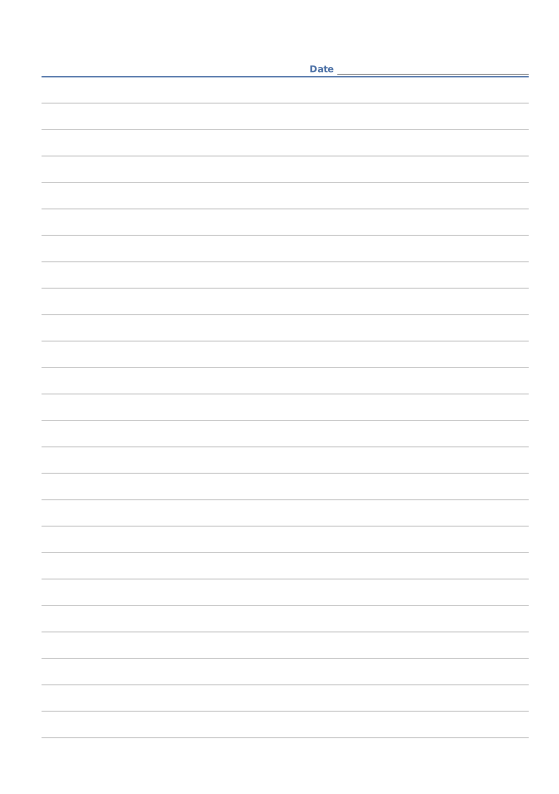
- A dot grid or lined insert for notes: the 5 mm dot grid on 32 pages is the classic refill.
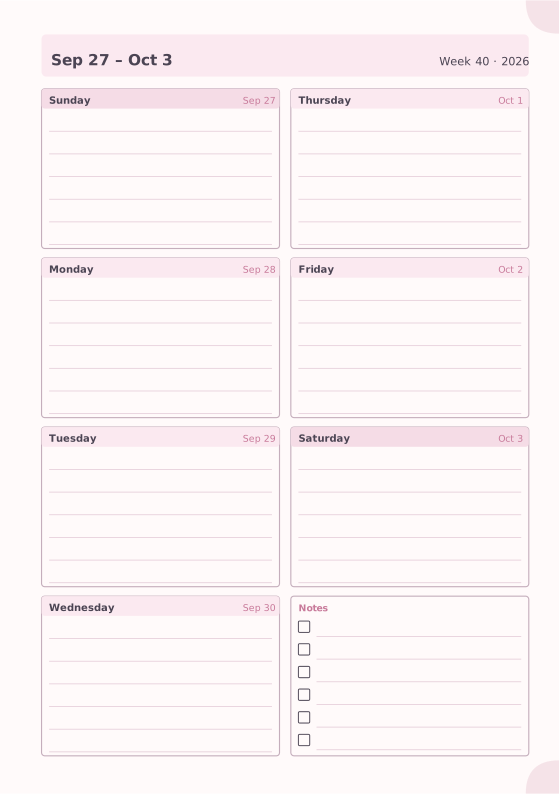
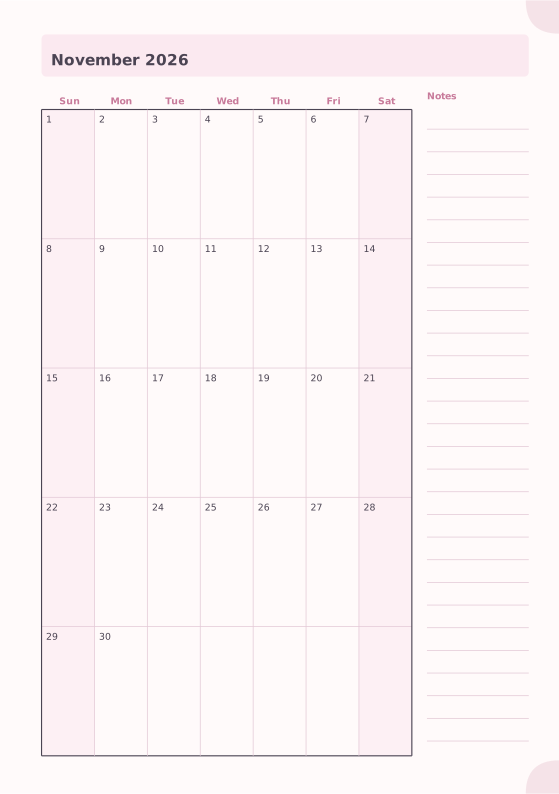
- A dated weekly insert: 13 weeks on 13 pages plus a monthly calendar for each month, one quarter per insert.
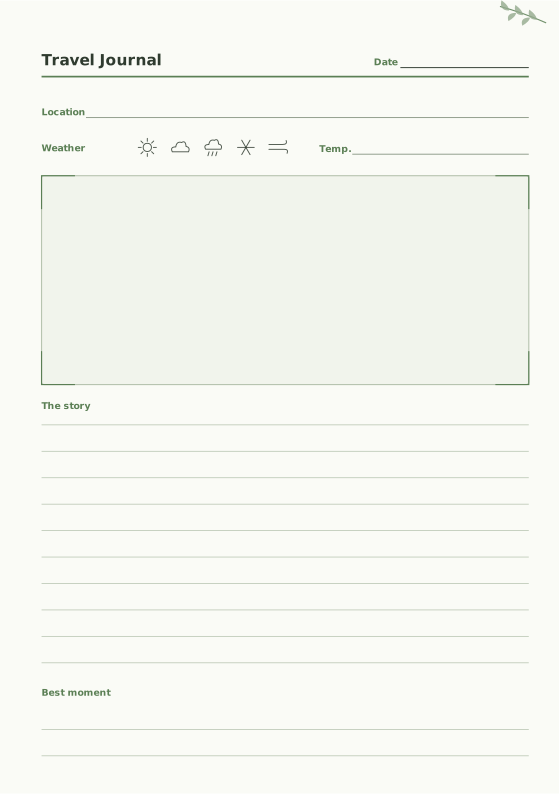
- A travel journal insert: packing list, itinerary, then a travel journal page per day.
- A passport insert with monthly calendars fits twelve months in a pocket.
Mix them freely: the booklet imposition keeps every page in reading order after folding.
Printing the booklet
- Choose Traveler’s Notebook Regular or Passport under Planner or binder, add pages, then Download PDF → Print-ready booklet. The summary shows the sheet count; passport inserts use Two copies per sheet.
- Print double-sided, flip on the short edge, at 100% (Actual size). If your printer prints backs upside down, change the duplex setting to long edge and print one sheet to check.
- Fold each sheet in half along the fold marks, press the crease with a bone folder or the back of a spoon, and nest the sheets in order.
- Trim the outer edges along the crop marks. Cut the sides first, then the top and bottom, with the folded stack clamped under a ruler.
Binding: pamphlet stitch or staples
Three-hole pamphlet stitch is the traditional insert binding: pierce three holes along the fold (centre, and 30 mm from each end), sew from the inside through the centre hole, out and in through the ends, back through the centre, and tie off inside. Waxed linen thread or embroidery floss both work. The sewing guide shows the steps with pictures. A long-reach stapler through the fold is faster and holds 32 pages well.
A cover for the insert
An insert can be bare, or you can add a cover sheet of kraft paper or thin card, folded around the pages and sewn with them. In the maker, keep the notebook’s own cover off (the system preset does this) and print one extra blank page pair on kraft paper, or simply cut a kraft sheet to the trimmed insert size plus the spine and sew it with the rest.
Slide the finished insert under the elastic. A cover holds two inserts on its own elastic and more with connecting bands.
Featured templates
Start from a template, then change line spacing, dates, colors and layout options.