6 min read
How to print your own planner inserts and refills
Print planner inserts that fit the binder or notebook you already own: pick the system, choose the pages, print at 100%, trim along the crop marks and punch the holes.
On this page
Printable planner inserts are pages you print at home to refill a planner you already own: a Traveler’s Notebook cover, a Hobonichi book, a Filofax or other six-ring binder, or a disc-bound Happy Planner. The page size, the binding margin and the hole positions have to match the planner exactly, so the first step is always the same: choose the system, and the maker sets everything else. Then you pick the pages, print double-sided at 100%, trim along the crop marks and punch.
Why print your own refills
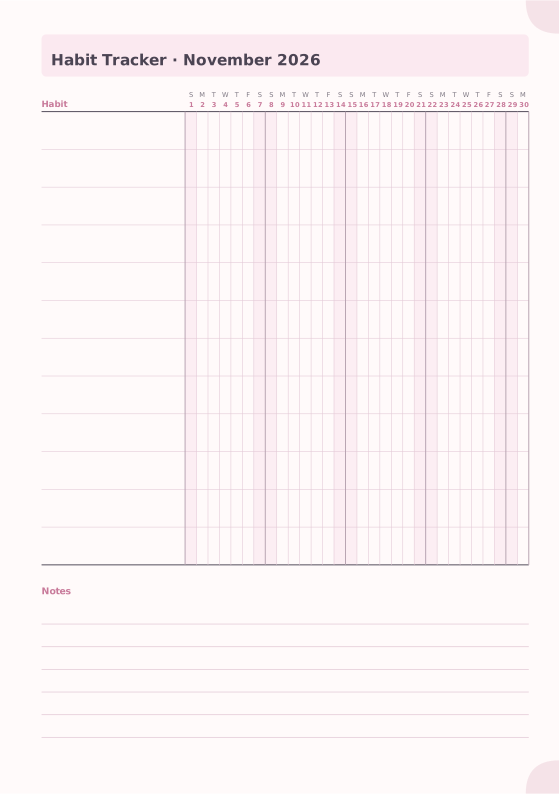
- Exactly the pages you use. A bought refill pack has one layout. Your own insert can be a monthly calendar followed by weekly pages, then a habit tracker and dot grid, in any mix.
- Any year, any week start. Dated pages start on the date you choose, with Monday or Sunday weeks, so an insert can begin mid-year or follow a school year.
- Your language. Month and weekday names print in the language you choose, independent of the app language.
- Cheaper. A 32-page Traveler’s Notebook insert costs eight sheets of copy paper.
Step 1: Choose your planner system
Open the Notebook Maker and pick your planner under Planner or binder, or start from the refills and inserts page. The choice sets:
| Setting | What the system decides |
|---|---|
| Page size | The refill size of that planner, for example 95 × 171 mm for Personal, 110 × 210 mm for a regular Traveler’s Notebook |
| Binding margin | Wide enough to clear rings or discs; narrow for folded and glued pages |
| Printing mode | Folded booklet for Traveler’s Notebook inserts; loose double-sided pages for everything else |
| Punch guides | Six-ring or disc positions marked on every page, or none |
| Cover | Off. The planner already has one |
Covers and binders vary by a millimeter or two between makers, so measure a page you already own once. If yours is smaller, enter a custom size under Page size; the hole guide and margins follow.
Step 2: Add pages
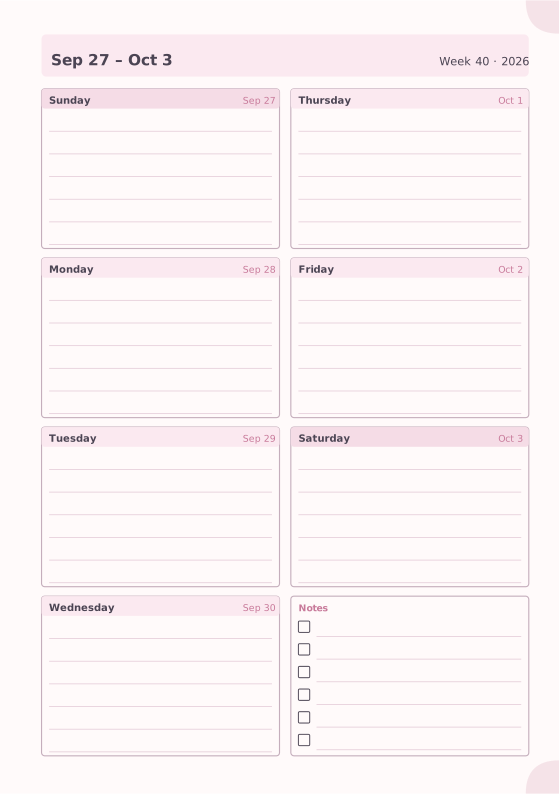
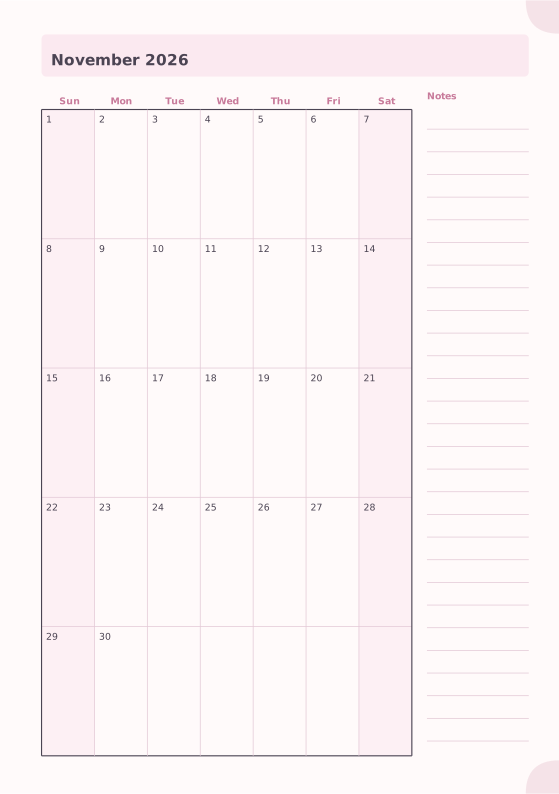
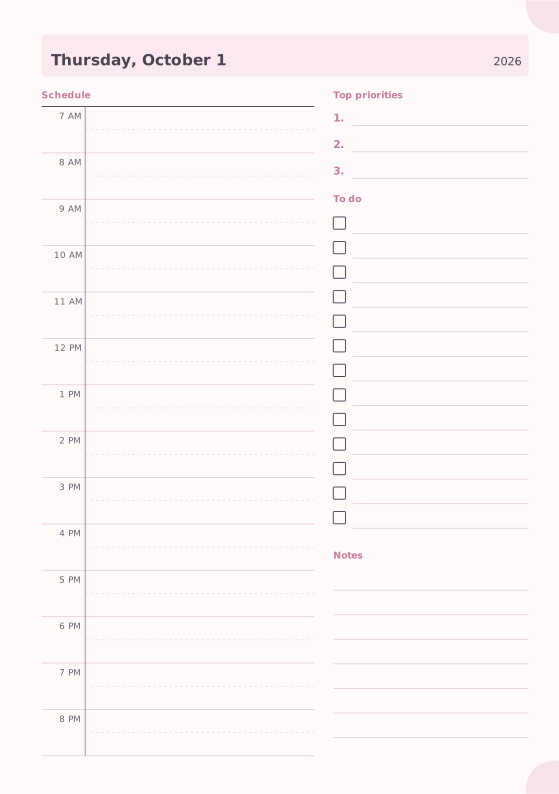
Use Add pages to add any number of a template. For dated templates (weekly, monthly, daily) choose a date range and the pages are dated automatically. A classic structure is a year overview, then each month followed by its weeks, then notes pages.
The pages adapt to the planner’s size: a weekly page on a narrow Personal insert uses rows, on a Classic Happy Planner it uses seven columns.
Step 3: Print
Click Download PDF. Folded systems export a print-ready booklet, already arranged two pages per side so that the stack folds into the right order. Loose systems export single pages, one per sheet, double-sided, with crop marks and punch guides.
Print at 100% (Actual size): never “fit to page”, or the holes and grids shift. Print double-sided, flip on the long edge for loose pages, short edge for booklets. Test one sheet first and hold it up to the light: the frames on the front and back should line up.
Step 4: Trim and punch
Cut along the crop marks with a craft knife and a metal ruler, or a guillotine trimmer for a stack. Then punch through the circles printed on the binding edge with a planner punch or a single-hole punch. The cutting and trimming guide covers the tools; the system guides below cover each planner’s holes.
Guides by system
- Traveler’s Notebook refills: regular and passport inserts, folding, sewing, kraft covers.
- Filofax and six-ring inserts: A5, Personal and Pocket hole spacing, punches, binding margins.
- Hobonichi pages: Weeks, Original and Cousin, and how to fix loose pages into a bound book.
- Happy Planner inserts: Classic, Big and Mini, disc punching, printing Classic pages on Letter.
- Planner insert sizes: every size in millimeters and inches, with hole spacing.
Featured templates
Start from a template, then change line spacing, dates, colors and layout options.