5 min read
How to make your own planner and print it at home
Make your own planner: choose the size and layout, pick your sections, count the pages, build it free in your browser, then print it double-sided and bind it.
On this page
To make your own planner, first decide on the size and layout (A5 or Half Letter with a week on one page is the most common), then choose the sections you will actually use: a year overview, monthly calendars, weekly or daily pages, trackers and notes. Build the pages in order, print them double-sided at 100% scale and bind them with staples, thread, rings or discs. The result is a planner with exactly the pages you need and none you skip.
Step 1: Decide the format
| Decision | Options | Good to know |
|---|---|---|
| Size | A5 or Half Letter (most popular), B6, Personal Ring Planner, Traveler’s Notebook, A4 or Letter for a desk | A5 prints two pages per A4 sheet, Half Letter two per Letter sheet |
| Dated or undated | Dated pages have the dates printed; undated pages you fill in yourself | Undated planners let you start any time and skip weeks without wasting pages |
| Weekly or daily | A week on one page, or one page per day with an hourly schedule | A daily planner for a whole year is 365 pages, so most people print one month or one quarter at a time |
| Start of the week | Monday or Sunday | Set it once for the whole planner |
If you are unsure, start with a three-month A5 weekly planner. It is quick to print and shows you what you really use before you commit to a full year.
Step 2: Choose your sections
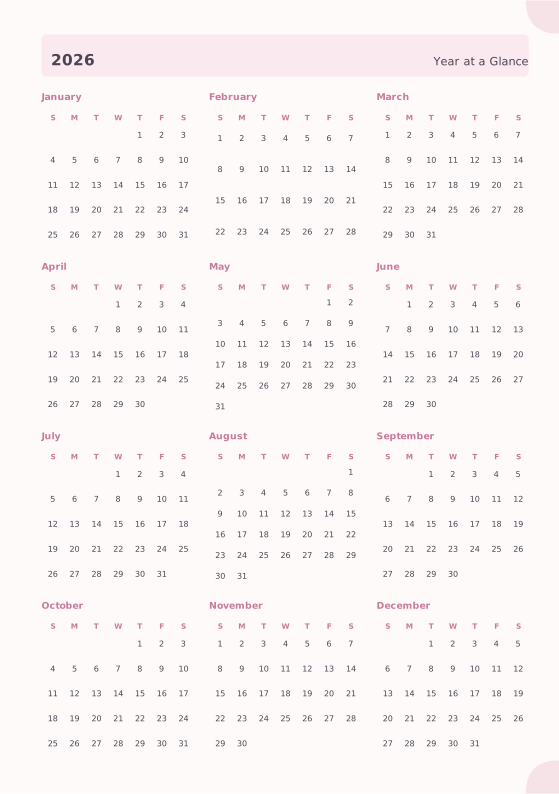
- Year overview: the Yearly Overview shows twelve mini calendars or a list with room for birthdays and deadlines.
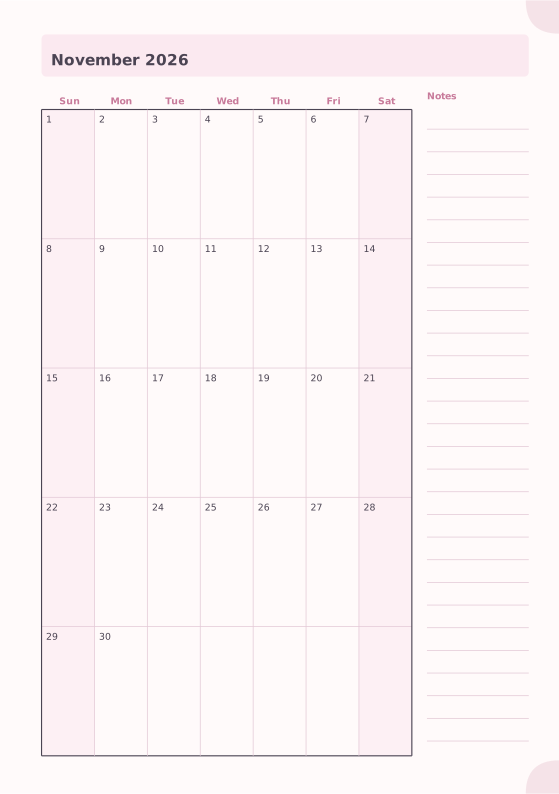
- Monthly calendar: the Monthly Planner has large day boxes and a notes column.
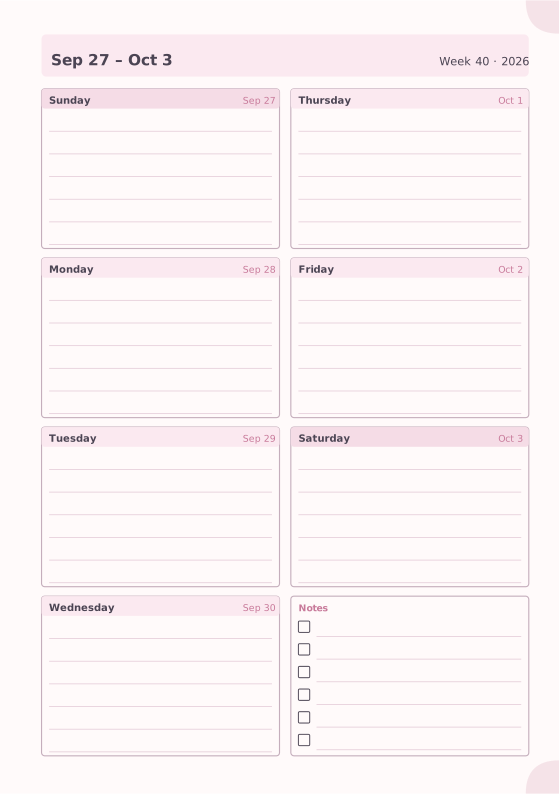
- Weekly pages: the Weekly Planner fits seven days on one page in boxes, columns or rows, with the week number.
- Daily pages: the Daily Planner has an hourly schedule, top priorities, a to-do list and notes.
- Goals: the Goal Planner turns a goal into action steps and milestones.
- Trackers: a Habit Tracker per month, plus mood, sleep or expense trackers if you want them.
- Notes: dot grid or lined pages at the back, or after each week.
Step 3: Count your pages
| Planner | Pages | How to bind it |
|---|---|---|
| 3-month A5 weekly planner | 1 year overview + 1 goal page + 3 months + 13 weeks + 3 habit trackers + 3 notes = 24 | One stapled booklet of 6 sheets |
| 12-month A5 weekly planner | 1 year overview + 12 months + 52 weeks + 12 habit trackers + 8 notes = 85, rounded up to 88 | Sewn signatures, rings or discs |
| One month of daily pages | 1 month + 31 days = 32 | One stapled booklet of 8 sheets |
| Undated weekly Traveler’s Notebook insert | 26 weeks + 6 notes = 32 | One booklet of 8 sheets |
Two things to keep in mind:
- A booklet always has a multiple of four pages, because every folded sheet carries four pages. The export adds blank pages if needed, or you can fill the gap with notes pages yourself.
- A single stapled booklet works up to about 12 to 15 sheets (48 to 60 pages). A full-year planner is too thick for that: print it as several sewn signatures, as one booklet per quarter, or as single pages for a ring or disc binder. The binding styles guide compares the options.
Step 4: Build it in the maker
- Open 52 dated weekly pages in A5. The weeks start from the current week.
- Under Notebook, check the Page size, choose a Theme and set First day of the week and Date format under Language and dates.
- Click Add pages, choose the Monthly Planner, enter 12 pages and set Insert to At the beginning. Dated pages move forward one month at a time. Then add the Yearly Overview at the beginning in the same way, so it comes first.
- Add a habit tracker for each month, a goal page and some notes pages, then drag pages into the order you want.
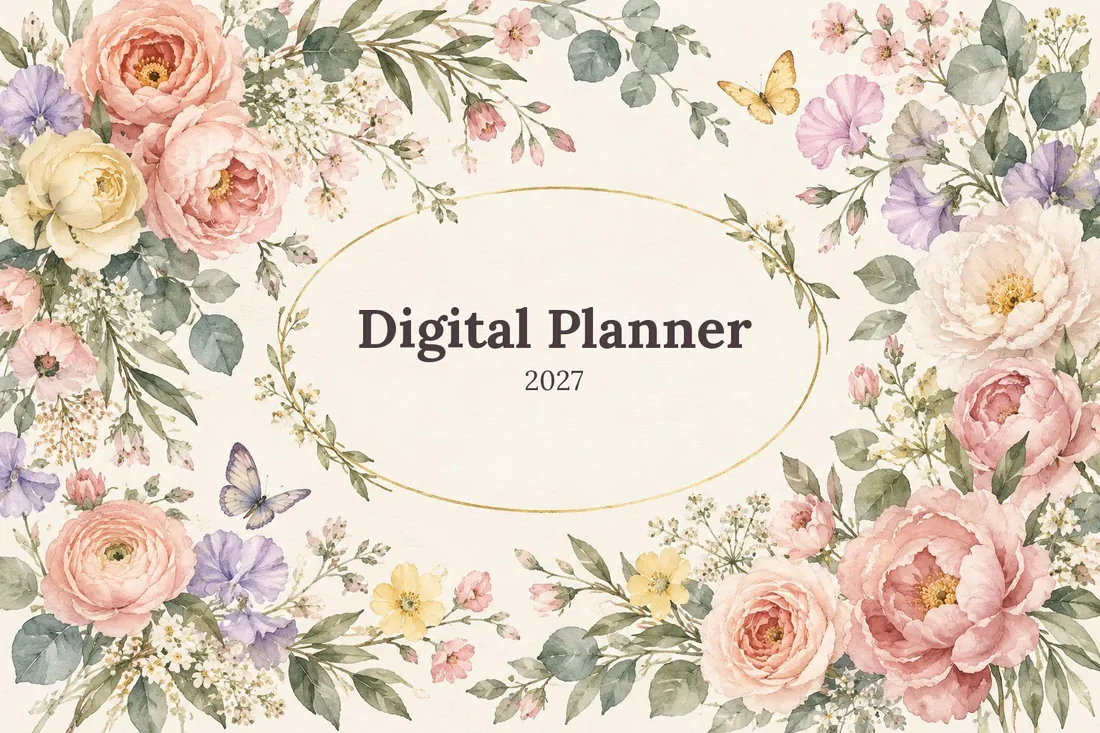
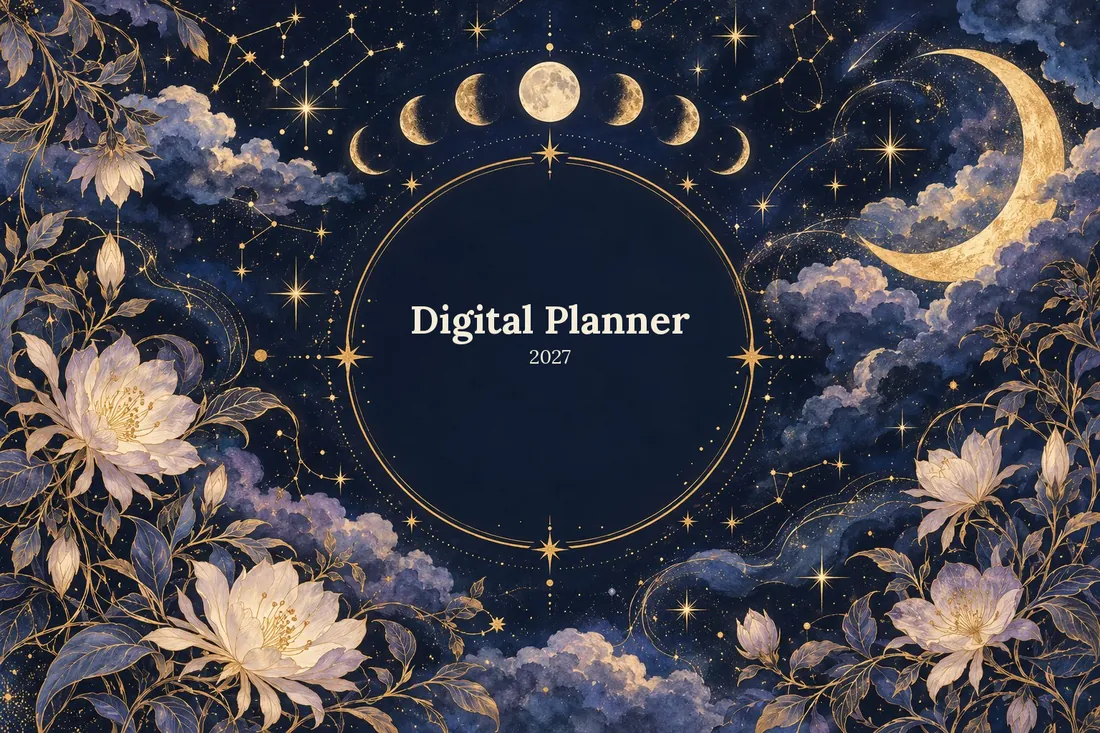
- Turn on Include covers and choose one of the Ready-made designs (browse the cover designs), or add borders and stickers on the Decorate tab.
- Use the Spreads or 3D book preview to check the result.
Want a notes page after every week? When you add weekly pages with Add pages, choose Dot Grid under After each page, also add.
For a faster start, open My notebooks, then the Collection wizard, and choose Planner. You pick the start month, a duration of 1, 3, 6 or 12 months and weekly or daily pages, and it builds the year overview, goals, monthly calendars, habit trackers and a monthly reflection for you. More setups are collected on the planner ideas page.
Step 5: Print and bind
- Open Download PDF. For a bound planner, choose Print-ready booklet and under Binding pick One booklet (staple) or Signatures (sew). For a ring or disc binder, choose Single pages.
- Print double-sided at Actual size / 100% with the flip edge the dialog tells you. The booklet printing guide explains every setting.
- Fold the sheets in order and staple them, or sew the signatures together (how to sew signatures). For rings or discs, punch the single pages.
- Add a cover on card, trim if needed, and your planner is ready. The DIY binding guide compares five home binding methods.
For Traveler’s Notebook covers, see the ready-made Traveler’s Notebook inserts and passport-size inserts.
FAQ
What is the best size for a homemade planner?
A5 (148 × 210 mm) or Half Letter (5.5 × 8.5 in) suits most people: large enough for a week on one page, small enough for a bag. Use A4 or Letter if the planner stays on your desk.
Can I make an undated planner?
Yes. Use the Undated Planner template, or leave the date empty on any dated page so you can fill it in by hand.
How do I bind a thick planner at home?
Print it as several signatures and sew them together, or print single pages and use a ring binder or discs. One stapled booklet is best kept under about 15 sheets.
Is it cheaper to make my own planner?
If you already have a printer, the cost is mainly paper, ink and a binding method you can reuse. The bigger advantage is that every page is one you will actually use.
Featured templates
Start from a template, then change line spacing, dates, colors and layout options.